- Table of Contents
- 1. Installing Hadoop
- 2. Configuring Cloudera Desktop
- 3. Starting Cloudera Desktop
- 4. Usage
- 4.1. Feedback
- 4.2. Reporting Bugs
1. Installing Hadoop
These instructions describe how to install Cloudera Desktop on a multi-node cluster. If you are interested in using a pseudo-distributed cluster, please see the for instructions.
Note:
All commands that need to be run as root have a # command prompt.
All commands that do not require root have a $ command prompt.
1.1. Installing Hadoop on Debian Systems
If you are running on a Debian-based platform, you can download our packages using apt.
Setting up your Apt Repository
Add repository. Create a new file /etc/apt/sources.list.d/cloudera.list with the following contents, taking care to replace DISTRO with the name of your distribution (find out by running lsb_release -c)
deb http://archive.cloudera.com/debian DISTRO-testing contrib
deb-src http://archive.cloudera.com/debian DISTRO-testing contrib
Add repository key. (optional) Add the Cloudera Public GPG Key to your repository by executing the following command:
# curl -s http://archive.cloudera.com/debian/archive.key | apt-key add -
This allows you to verify that you are downloading genuine packages.
Update APT package index. Simply run:
# apt-get update
Find and install packages. You may now find and install packages from the Cloudera repository using your favorite APT package manager (e.g apt-get, aptitude, or dselect). For example:
# apt-cache search hadoop
# apt-get install hadoop
1.2. Installing Hadoop on Redhat Systems
If you are running on a Redhat-based system, you can easily download our software using yum. You can also just download the RPMs directory from http://archive.cloudera.com/redhat/cdh.
Setting up Yum access
Add the Yum repository. Download the cloudera-testing.repo file and drop it ito your /etc/yum.repos.d/ directory.
Update the Yum package index. Simple run:
# yum update yum
Find and install packages. For example:
# yum search hadoop
# yum install hadoop-0.20
1.3. Required Hadoop Version
To use Cloudera Desktop, you must be running Cloudera's Distribution for Hadoop with a version number of at least 0.20.1+133. If you are not running at least this version of Hadoop, please upgrade your cluster before proceeding.
1.4. Getting Cloudera Desktop
Cloudera Desktop consists of a web service that runs on a special node in your cluster. You should pick one node to run Cloudera Desktop. From this point on, we'll refer to that node as the "Cloudera Desktop Server". This should be one of the nodes within your cluster for optimal performance, though it can be a remote node as long as there are no overly restrictive firewalls.
For small clusters of less than 10 nodes, it is fine to choose your existing master node as the Cloudera Desktop Server.
1.4.1. Getting Desktop via Red Hat packages
On your Cloudera Desktop Server, run:
# yum install cloudera-desktop
If your server is running a 64-bit Linux, instead run:
# yum install cloudera-desktop.x86_64
On nodes in your cluster that are running Hadoop daemons, run:
# yum install cloudera-desktop-plugins
1.4.2. Getting Desktop via Debian packages
On your Cloudera Desktop Server, run:
# apt-get install cloudera-desktop
On nodes in your cluster that are running Hadoop daemons, run:
# apt-get install cloudera-desktop-plugins
1.5. Enabling Hadoop Plugins
Cloudera Desktop requires that you install and configure some plugins in your Hadoop installation.
When you installed the cloudera-desktop-plugins package above, your package manager automatically added the required plugin jar to your Hadoop installation's lib directory, making them available to Hadoop. In order to enable the plugins, you'll need to make some small additions to your configuration.
These configuration changes should be made on each node in your cluster by editing the files in /etc/hadoop-0.20/conf/
1.5.1. hdfs-site.xml
You'll want to add the following configuration options to hdfs-site.xml.
<property>
  <name>dfs.namenode.plugins</name>
  <value>org.apache.hadoop.thriftfs.NamenodePlugin</value>
  <description>Comma-separated list of namenode plug-ins to be activated.
  </description>
</property>
<property>
  <name>dfs.datanode.plugins</name>
  <value>org.apache.hadoop.thriftfs.DatanodePlugin</value>
  <description>Comma-separated list of datanode plug-ins to be activated.
  </description>
</property>
<property>
  <name>dfs.thrift.address</name>
  <value>0.0.0.0:9090</value>
</property>
1.5.2. mapred-site.xml
Add the following to mapred-site.xml:
<property>
  <name>jobtracker.thrift.address</name>
  <value>0.0.0.0:9290</value>
</property>
<property>
  <name>mapred.jobtracker.plugins</name>
  <value>org.apache.hadoop.thriftfs.ThriftJobTrackerPlugin</value>
  <description>Comma-separated list of jobtracker plug-ins to be activated.
  </description>
</property>
1.5.3. hadoop-metrics.properties
To enable full monitoring in the Health application, he metrics contexts must not be NullContext. You might configure hadoop-metrics.properties like so:
# Exposes /metrics URL endpoint for metrics information.
dfs.class=org.apache.hadoop.metrics.spi.NoEmitMetricsContext
mapred.class=org.apache.hadoop.metrics.spi.NoEmitMetricsContext
jvm.class=org.apache.hadoop.metrics.spi.NoEmitMetricsContext
rpc.class=org.apache.hadoop.metrics.spi.NoEmitMetricsContext
1.6. Restart your cluster
At this point you should restart all of the daemons in your cluster so that the plugins can be loaded.
You can confirm that the plugins are running correctly by tailing the daemon logs:
$ tail --lines=500 /var/log/hadoop-0.20/hadoop*namenode*.log | grep ThriftPlugin
2009-09-28 16:30:44,337 INFO org.apache.hadoop.thriftfs.ThriftPluginServer: Starting Thrift server
2009-09-28 16:30:44,419 INFO org.apache.hadoop.thriftfs.ThriftPluginServer: Thrift server listening on 0.0.0.0:9090
 | Configuring your firewall for Cloudera Desktop |
|---|---|
Cloudera Desktop currently requires that the machines within your cluster can speak to each other freely over TCP. The machines outside your cluster only need to be able to open TCP port 8088 on the Cloudera Desktop Server to interact with the system. |
2. Configuring Cloudera Desktop
Cloudera Desktop ships with a default configuration that will work for pseudo-distributed clusters. If you are running on a real cluster, you'll need to make a few small changes to its configuration file.
Edit /usr/share/cloudera-desktop/conf/cloudera-desktop.ini in your favorite editor.
| Full Listing of Configuration Options |
|---|---|
In order to see a full listing of the available configuration options, you can run: /usr/share/cloudera-desktop/bin/desktop config_help | less This will outline the various sections and options in the configuration, as well as provide help and information on the default values. |
2.1. Pointing Cloudera Desktop to your master nodes
If Cloudera Desktop is running on a different node than your Hadoop master nodes, you'll need to point it at the correct host names to talk to your cluster. To do so, simply change the namenode_host and jobtracker_host lines in the configuration file. The inline comments in the existing file will guide you.
| Using multiple files to store your configuration |
|---|---|
Cloudera Desktop will load and merge all of the files located in the conf/ directory. Files that are alphabetically later will take precedence. |
2.2. Configuring PAM authentication
Cloudera Desktop ships with a wide-open authentication mechanism by default — users may enter any username and password when logging in. To instead use PAM authentication, follow the instructions under the [[auth]] section of the file.
| Password Security and PAM Authentication |
|---|---|
Cloudera Desktop does not ship with SSL enabled by default. If you choose to enable PAM authentication, be aware that HTTP is not an encrypted protocol and users' authentication details may be revealed over the network. |
3. Starting Cloudera Desktop
Once your cluster is up and running with the plugins enabled, you can start Cloudera Desktop. On your Cloudera Desktop Server, run:
# /etc/init.d/cloudera-desktop start
Congratulations! Your Cloudera Desktop installation is now up and running!
4. Usage
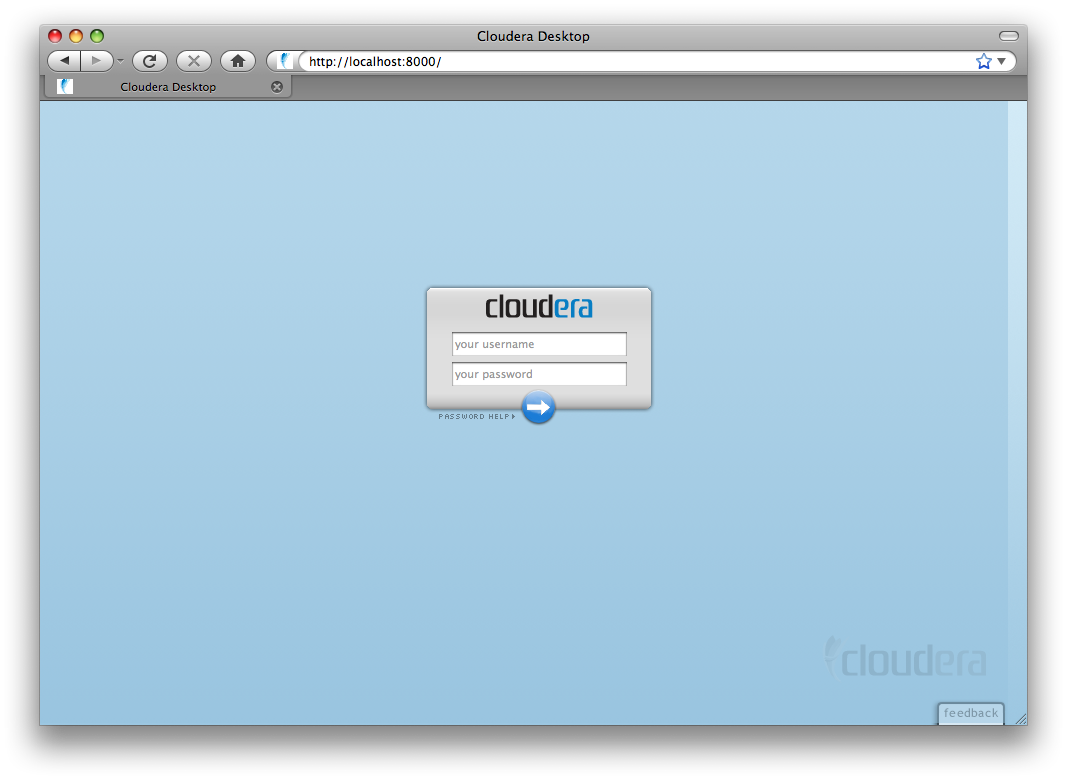
After installation, you use Cloudera Desktop by simply navigating to http://myserver:8088/. You'll be greeted with a login screen:
After login, you'll be greeted with a welcome screen.
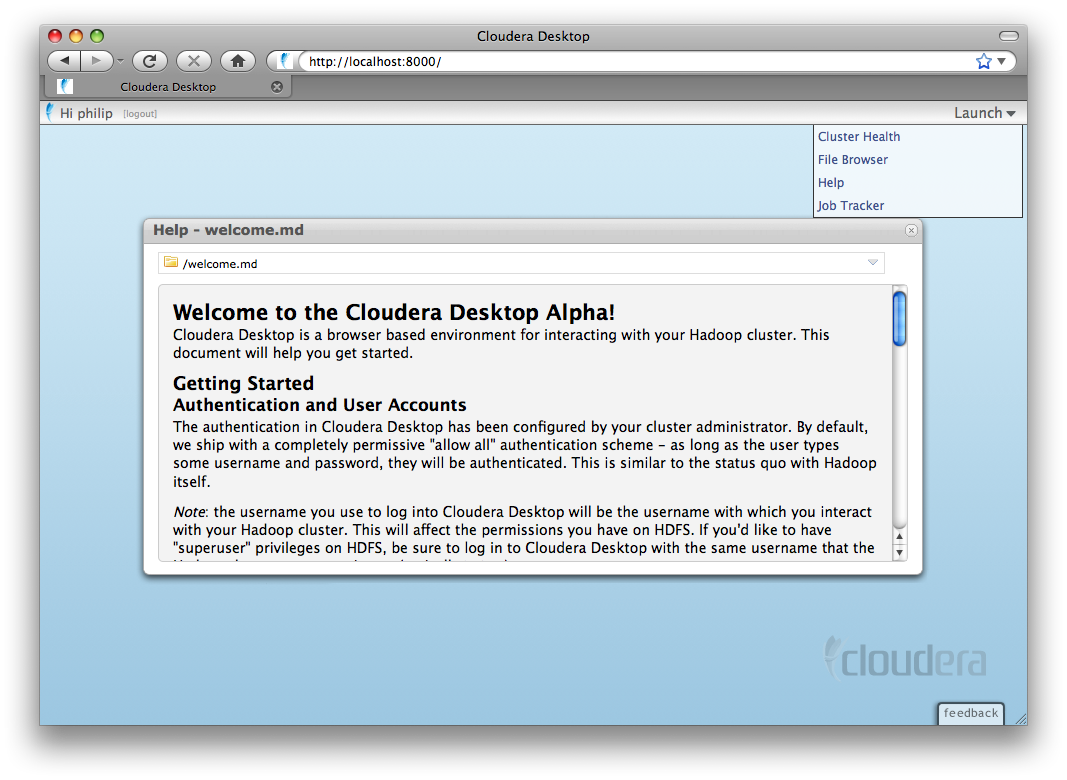
Launch applications on the top-right.
4.1. Feedback
Cloudera Desktop is currently in a public beta, and we're excited to receive your feedback and criticisms. We expect that you may uncover some bugs and mishaps. The best way to send feedback is to post to our GetSatisfaction page at http://getsatisfaction.com/cloudera/products/cloudera_cloudera_desktop.
4.2. Reporting Bugs
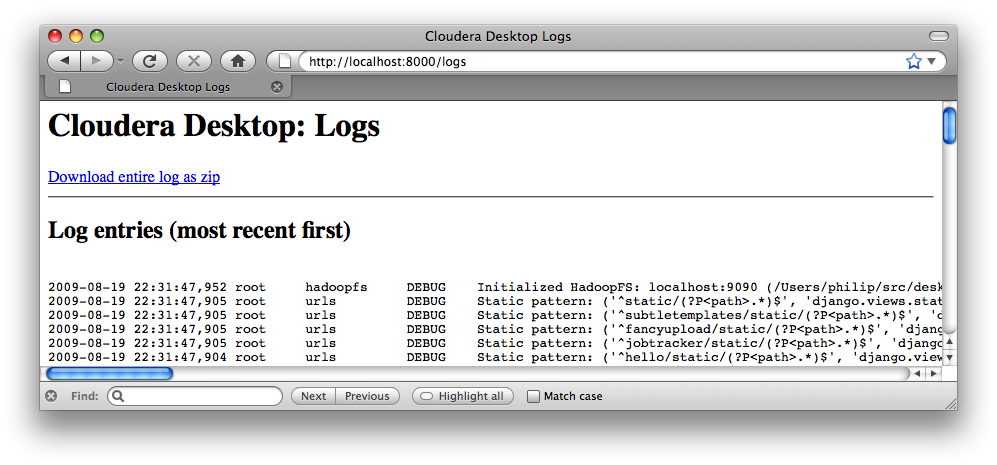
If you find that something doesn't work, it'll often be helpful to include logs
from your server. These are available at the /logs URL on Desktop's webserver
(not part of the graphical Desktop UI). Please download the logs as a zip (or cut
and paste the ones that look relevant) and send those with your bug reports.