- Table of Contents
- 1. Installation (Pseudo-Distributed cluster)
- 2. Starting Cloudera Desktop
- 3. Usage
- 3.1. Feedback
- 3.2. Reporting Bugs
1. Installation (Pseudo-Distributed cluster)
These instructions describe how to install Cloudera Desktop on a pseudo-distributed cluster. If you already have an existing multi-node cluster running, please see the instructions for installing on an existing cluster.
If you already have a pseudo-distributed Hadoop cluster running using Cloudera's hadoop-0.20-conf-pseudo package, you can still follow these instructions.
Note:
All commands that need to be run as root have a # command prompt.
All commands that do not require root have a $ command prompt.
 | What is pseudo-distributed mode? |
|---|---|
"Pseudo-distributed mode" refers to an installation of Hadoop that contains all of the same pieces as a real production Hadoop cluster, just running on a single node. This mode is ideal if you're just learning about Hadoop before you go on to set up a multinode cluster. |
1.1. Installing Packages
In order to install Cloudera Desktop and Hadoop in pseudo-distributed mode, you'll need to add Cloudera's apt or yum repository to your package manager's configuration.
1.1.1. Getting RPM packages via yum (for Red Hat/CentOS systems)
If you are running on a Redhat-based system, you can easily download our software using yum. You can also just download the RPMs directory from http://archive.cloudera.com/redhat/cdh.
Setting up Yum access
Add the Yum repository. Download the cloudera-testing.repo file and copy it ito your /etc/yum.repos.d/ directory.
Update the Yum package index. Simply run:
# yum update yum
After you've set up the Cloudera rpm repository, you can install the hadoop-0.20-conf-pseudo-desktop package to automatically set up Desktop on a new pseudo-distributed Hadoop cluster:
# yum install hadoop-0.20-conf-pseudo-desktop
On 64-bit machines, please run:
# yum install hadoop-0.20-conf-pseudo-desktop cloudera-desktop.x86_64
1.1.2. Getting Debian packages via apt (for Debian/Ubuntu systems)
If you are running on a Debian-based platform, you can download our packages using apt.
Setting up your Apt Repository
Add repository. Create a new file /etc/apt/sources.list.d/cloudera.list with the following contents, taking care to replace DISTRO with the name of your distribution (find out by running lsb_release -c)
deb http://archive.cloudera.com/debian DISTRO-testing contrib
deb-src http://archive.cloudera.com/debian DISTRO-testing contrib
Add repository key. (optional) Add the Cloudera Public GPG Key to your repository by executing the following command:
# curl -s http://archive.cloudera.com/debian/archive.key | apt-key add -
This allows you to verify that you are downloading genuine packages.
Update APT package index. Simply run:
# apt-get update
Install the Hadoop Pseudo Distributed Package. After you've set up the Cloudera apt repository, you can install the hadoop-0.20-conf-pseudo-desktop package to automatically set up Desktop on a new pseudo-distributed Hadoop cluster:
# apt-get install hadoop-0.20-conf-pseudo-desktop
1.2. Start your cluster
At this point, you should have Hadoop installed and configured for pseudo-distributed operation. To start your cluster, run the following commands:
# /etc/init.d/hadoop-0.20-namenode start
# /etc/init.d/hadoop-0.20-datanode start
# /etc/init.d/hadoop-0.20-secondarynamenode start
# /etc/init.d/hadoop-0.20-jobtracker start
# /etc/init.d/hadoop-0.20-tasktracker start
To verify that your cluster is running, visit http://localhost:50030 in your web browser. You should see the Hadoop JobTracker Web Interface. To verify that the namenode is running, visit http://localhost:50070.
Additionally, you can now run a simple example job to verify that your cluster can execute MapReduce jobs:
$ hadoop-0.20 jar /usr/lib/hadoop-0.20/hadoop*examples*jar pi 2 10000
After a minute or so, this example job should print out a very rough approximation of the value of Pi.
2. Starting Cloudera Desktop
Once your cluster is up and running with the plugins enabled, you can start Cloudera Desktop. On your Cloudera Desktop Server, run:
# /etc/init.d/cloudera-desktop start
Congratulations! Your Cloudera Desktop installation is now up and running!
3. Usage
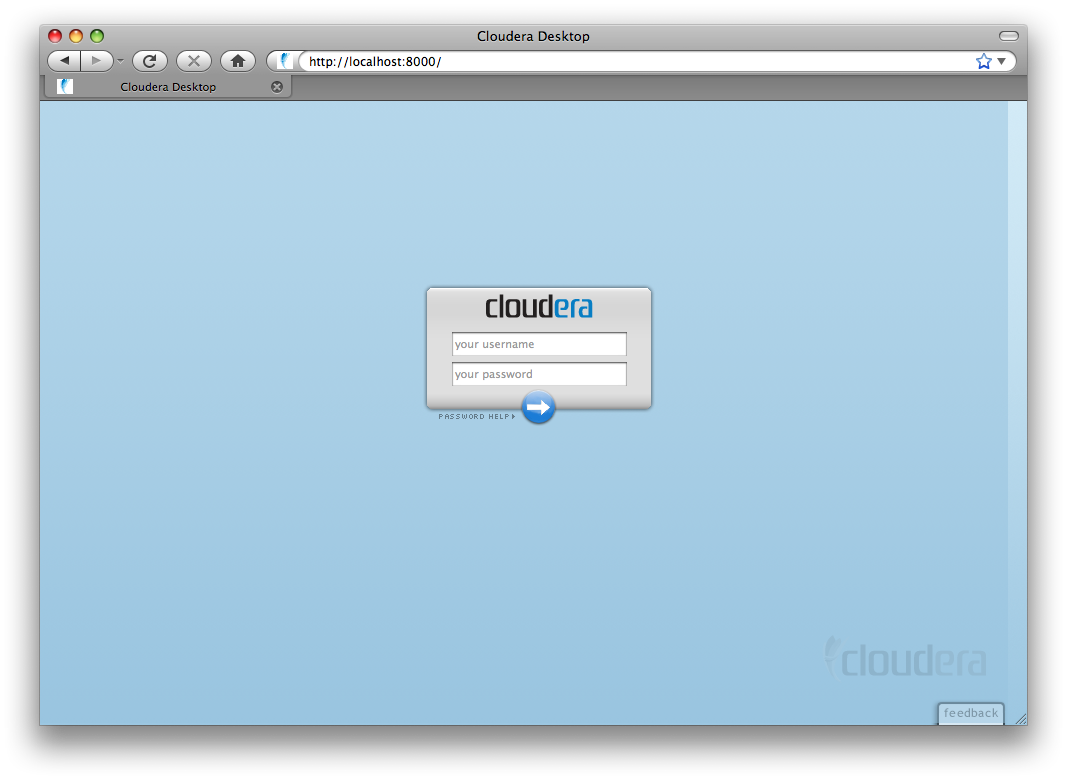
After installation, you use Cloudera Desktop by simply navigating to http://myserver:8088/. You'll be greeted with a login screen:
After login, you'll be greeted with a welcome screen.
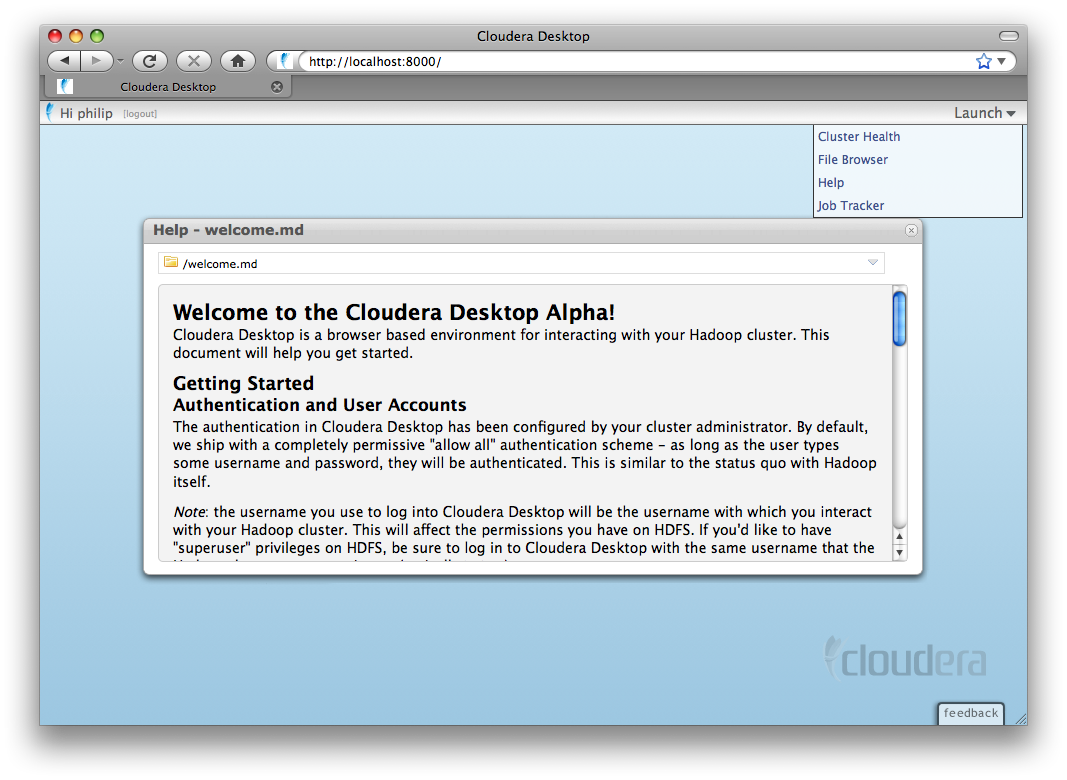
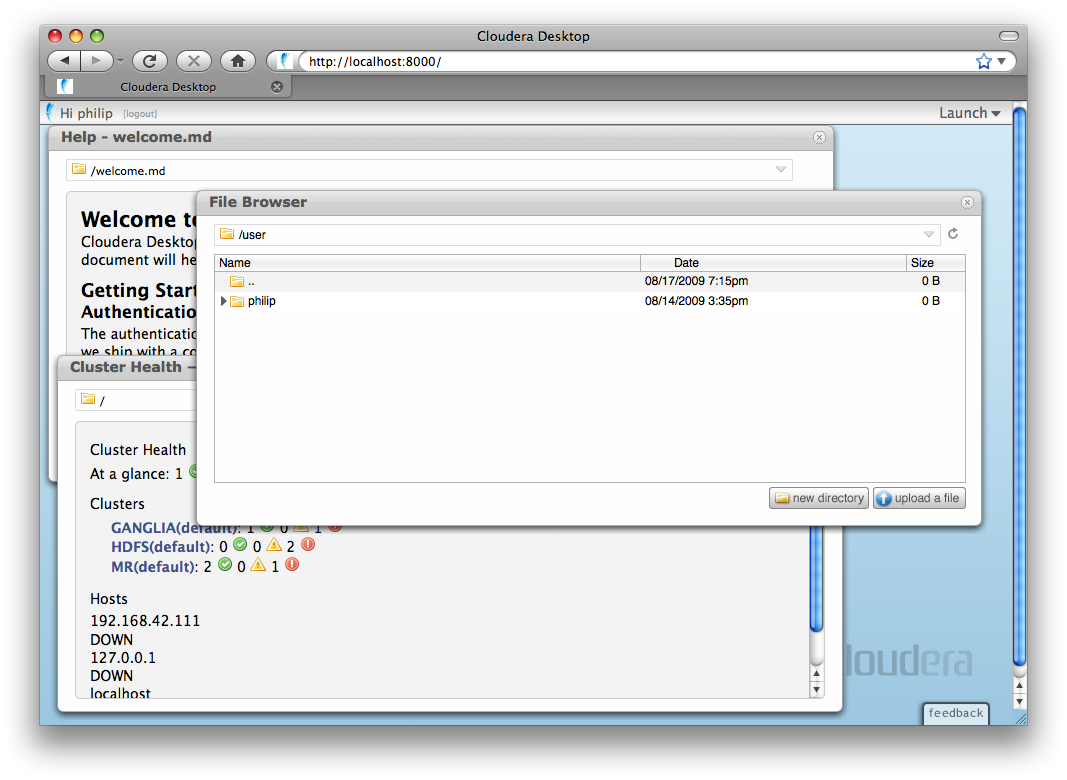
Launch applications on the top-right.
3.1. Feedback
Cloudera Desktop is currently in a public beta, and we're excited to receive your feedback and criticisms. We expect that you may uncover some bugs and mishaps. The best way to send feedback is to post to our GetSatisfaction page at http://getsatisfaction.com/cloudera/products/cloudera_cloudera_desktop.
3.2. Reporting Bugs
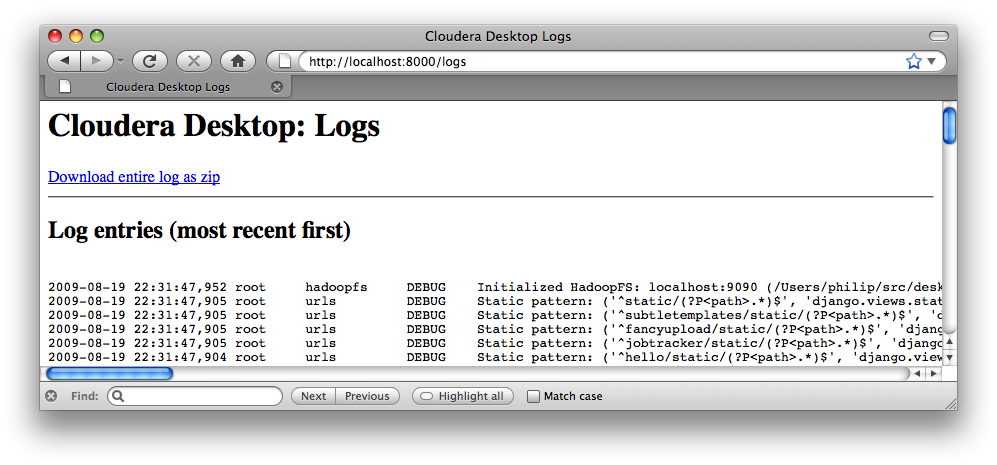
If you find that something doesn't work, it'll often be helpful to include logs
from your server. These are available at the /logs URL on Desktop's webserver
(not part of the graphical Desktop UI). Please download the logs as a zip (or cut
and paste the ones that look relevant) and send those with your bug reports.